

Start here
Choose a discard by
distance, count and shape.
Check how far the hand is from winning, then count the tiles that advance it. If the counts are equal, compare the shape one step ahead.
Three things to remember
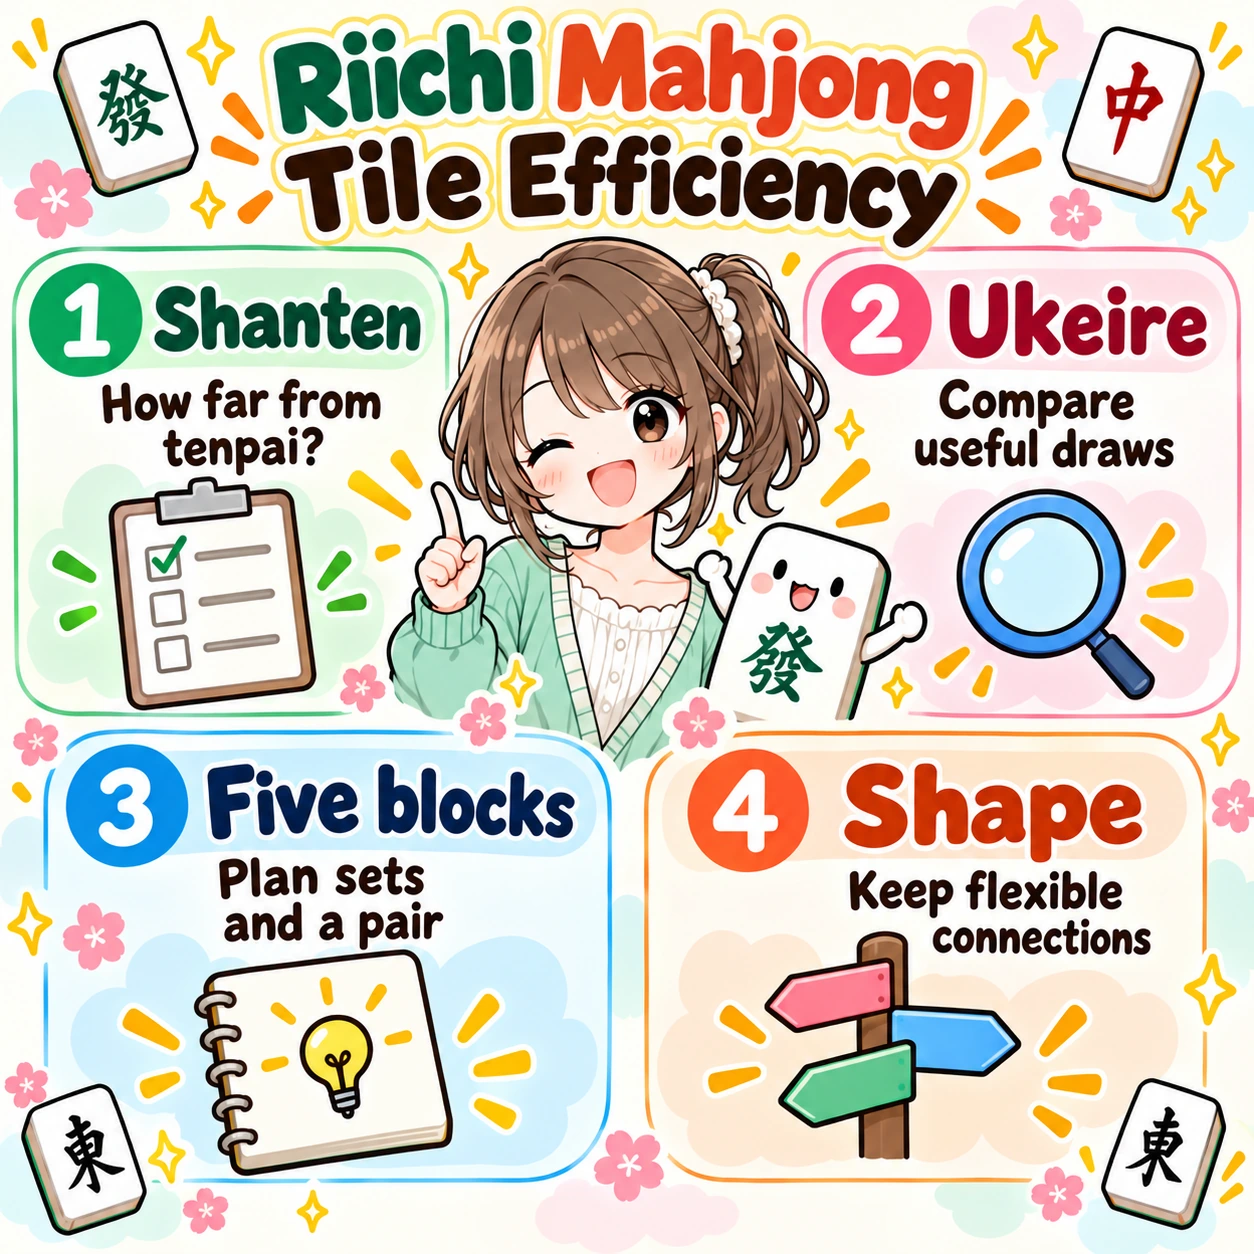
- ShantenStart with the distance to a ready hand
- UkeireSubtract tiles already visible
- Five blocks and shapeOrganize set candidates and the pair
 Enlarge the illustration ↗
1. How to compare discard options
A practical order for comparing discards
First consider a standard hand, seven pairs or thirteen orphans. For a standard hand, split connected tiles in several ways to identify five possible blocks. Then compare these four factors.
- Distance to tenpai: Compare the shanten after each possible discard.
- Ukeire: For options with equal shanten, list effective tile types without duplicates. Start with four of each and subtract copies in your hand and visible elsewhere.
- Quality after improving: Compare the eventual wait, yaku and hand value.
- Current situation: Check safe tiles, opponents' calls, remaining turns, dealer status and score gaps.
Write counts in a way that prevents mistakes
Write tile types and remaining copies on one line, such as “3 characters: 4, 6 characters: 3, East: 2; total 9.” Saying only “three types: 3 characters, 6 characters and East” ignores visible copies. For compound shapes, compare each discard's shanten, effective types and remaining counts side by side.
Think in this order: distance → count → shape → situation
Shanten measures how many steps a hand is from tenpai. Tenpai is 0 shanten; a hand one step from tenpai is one-shanten (iishanten). A completed winning shape is −1 shanten.
An effective tile reduces that distance by one step when drawn. The sum of remaining effective tiles is called ukeire. If there are at most four 3s of characters and three 6s of characters, ukeire is at most seven tiles.
Choosing and discarding a tile on your turn is called dahai. For each option, count shanten in the 13 tiles left after discarding. Two identical tiles form a pair (toitsu). Compare ukeire between options with the same shanten. Tile count alone does not determine the best discard.
A tile that connects is not always a tile that reduces shanten
Creating a two-tile block does not necessarily reduce the entire hand's shanten. Assess ukeire in the 13-tile hand after discarding. The examples below compare ready hands with fixed completed blocks and changes to individual unfinished sections.
Seven pairs and thirteen orphans have their own shanten calculations. With many pairs or many terminals and honors, keep those special shapes in mind instead of considering only the standard hand.
How does tile efficiency differ from push-or-fold judgment?
Tile efficiency is choosing tiles that move your hand closer to winning. Push-or-fold judgment weighs deal-in risk against your hand's value, wait, turn number and score situation to decide whether to attack or defend.
2. Count effective tiles and ukeire
Identify effective tiles and count ukeire correctly
There are four copies of each tile, including red fives. Subtract copies in your hand, all discards, exposed sets and visible indicators from four. If you hold one 2 of characters and two are discarded, at most one remains unseen.
Maximum unseen effective copies = 4 − copies in your hand − copies visible in public information
This is an upper bound based on visible information. Unseen tiles may be in opponents' hands or the dead wall; they are not necessarily all in the live wall. Use the count as an estimate for comparing options.
First list each effective tile type once, then total the remaining copies. A tile may help several blocks in a compound shape. If 3 characters improves two blocks, do not count its four copies twice as eight.
Common ukeire-counting mistakes
- Not subtracting your own tiles: A pair already uses two copies, leaving at most two that can make it a triplet.
- Ignoring discards and calls: Two effective types do not provide eight unseen tiles if four copies are already visible.
- Adding red five as a fifth copy: A red five is one of the four fives.
- Double-counting in compound shapes: A 3 of characters that helps two blocks still has at most four copies.
- Calling every improving tile effective: A tile that improves flexibility without reducing the whole hand's shanten is distinct from strict ukeire.
- Fixing the five blocks too rigidly: Connected tiles can be regrouped, and a pair can serve as the head or a triplet candidate.
- Choosing solely by tile count: Ignoring yaku, value, safety and the game situation can produce a choice that does not serve your goal.
Overlapping waits: blocks competing for the same tile
Nidouke means multiple incomplete blocks need the same tile. If two blocks both need 3 characters, they do not offer eight copies of that tile just because there are two blocks.
For compound shapes, list effective tiles by type, remove duplicates, then add the remaining copies.
Try it in MemoJong: Record your game results after practicing →
3. Recognize five blocks and one-shanten shapes
The five-block method
A standard winning hand needs four completed groups of three or four tiles, plus two identical tiles. Completed sequences, triplets and quads are sets (mentsu); the two-tile head is the pair (jantō).
Count an unfinished two-tile group as a candidate for a future set. The five-block method organizes the hand into four set candidates and one pair.
For example, “123 circles, 456 circles, 789 bamboo, East–East, 45 characters” has three completed sets, a pair and one unfinished set. Adding 3 or 6 characters completes the fourth set, with East–East as the pair.
With six candidates, one must be removed. Compare completion chances, connections to dora and yaku, and value as safe tiles, rather than count alone. With only four candidates, leave room for isolated tiles to form a new block.
A pair can be the head or a triplet candidate. Treating all possibilities as separate fixed blocks overcounts them, so reassess their roles after each draw. Do not force seven pairs or thirteen orphans into five-block theory.
Recognizing one-shanten shapes in tile diagrams
One-shanten hands can have different effective tiles depending on whether they have a pair and how many unfinished groups remain. Check which draws improve the highlighted sections below.
A hand with a pair and two unfinished sections
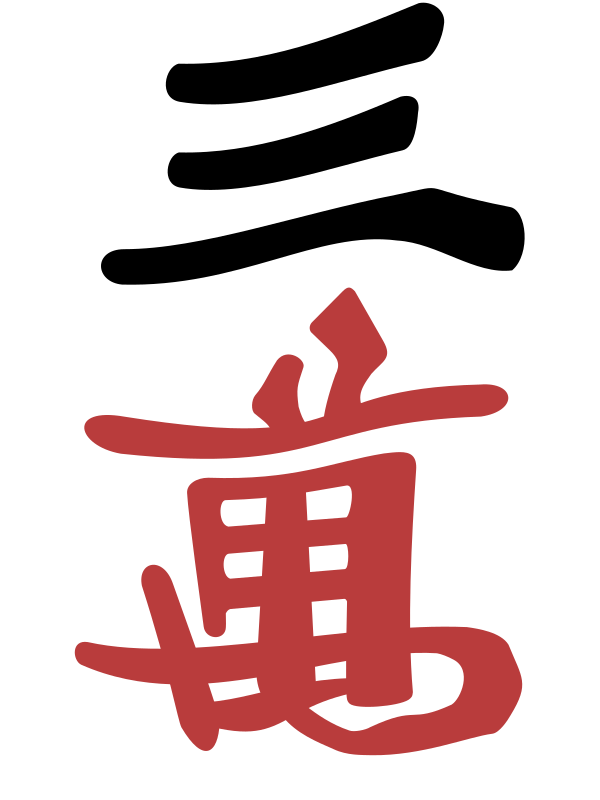
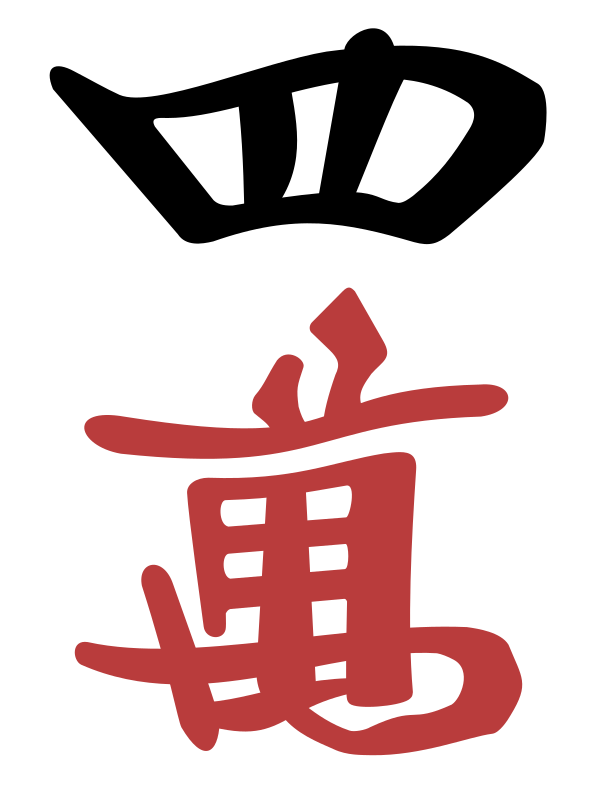
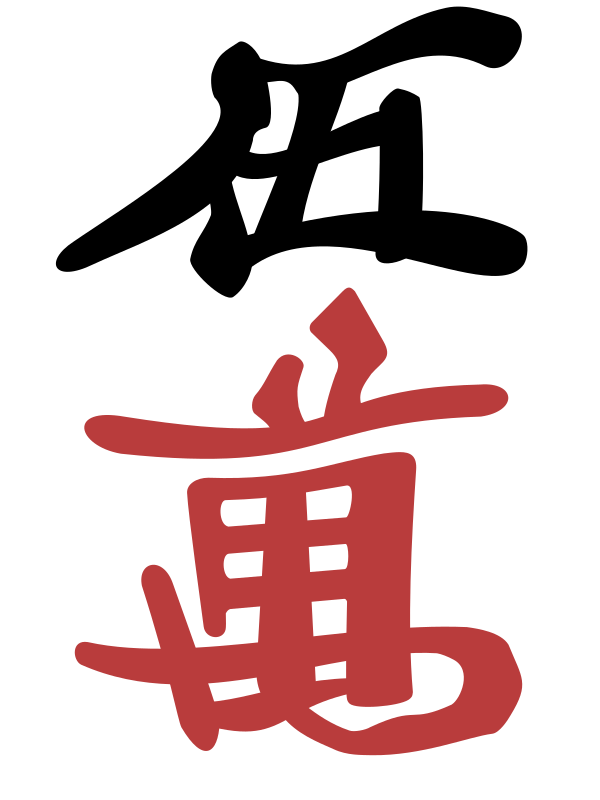
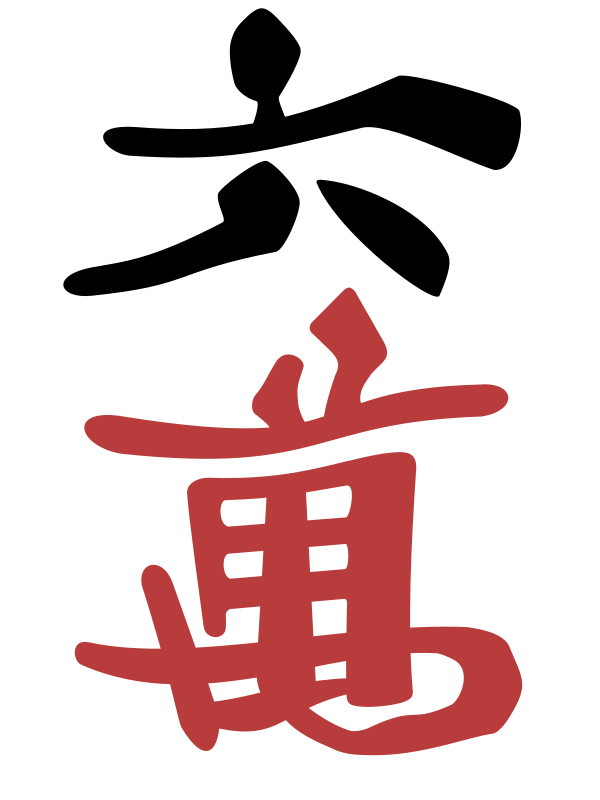
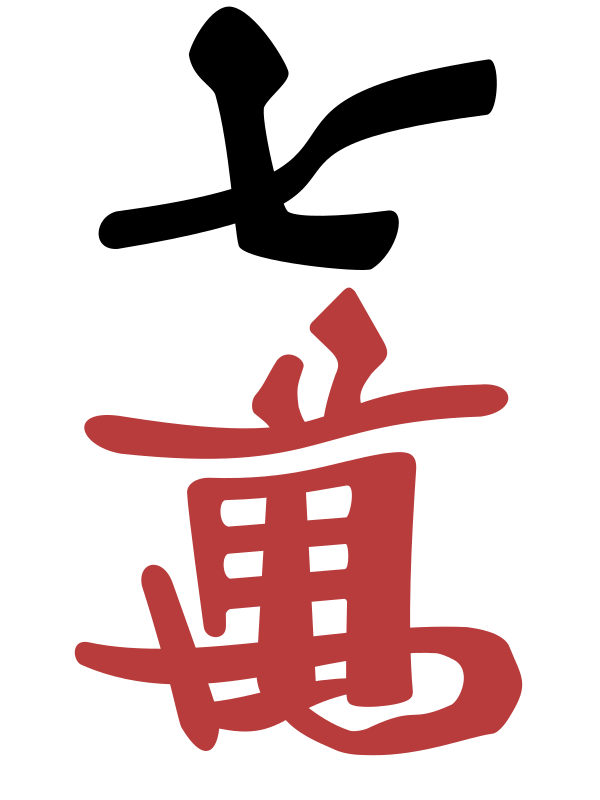
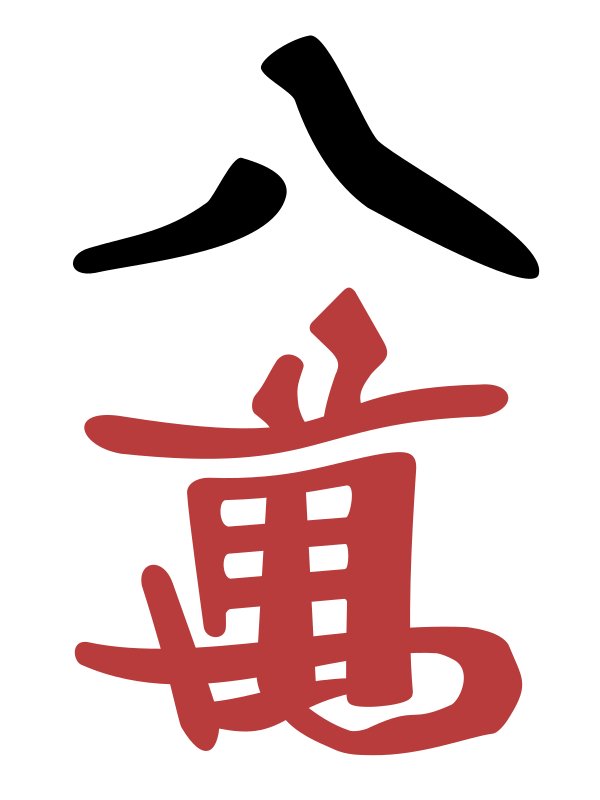
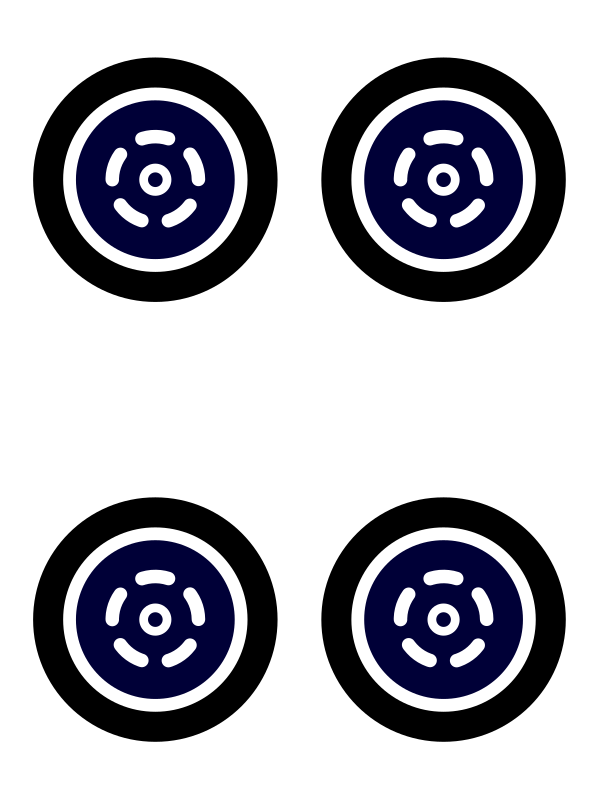
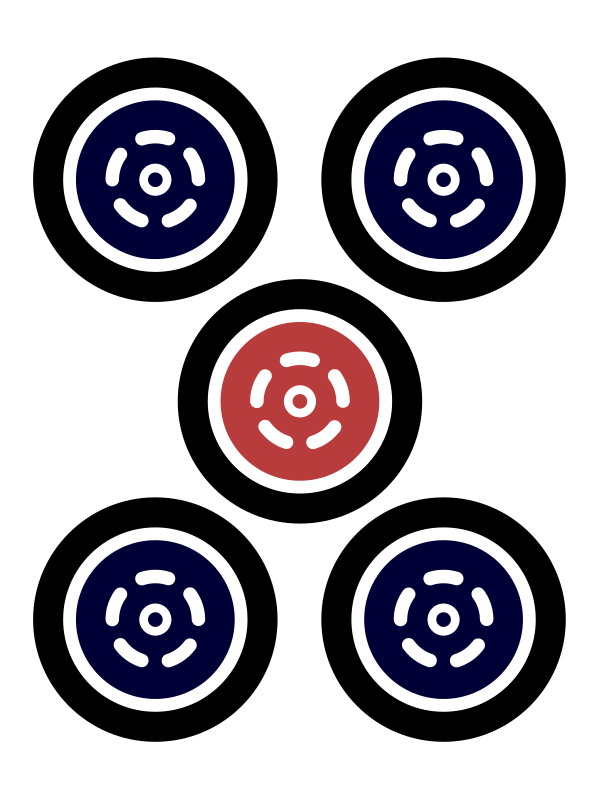
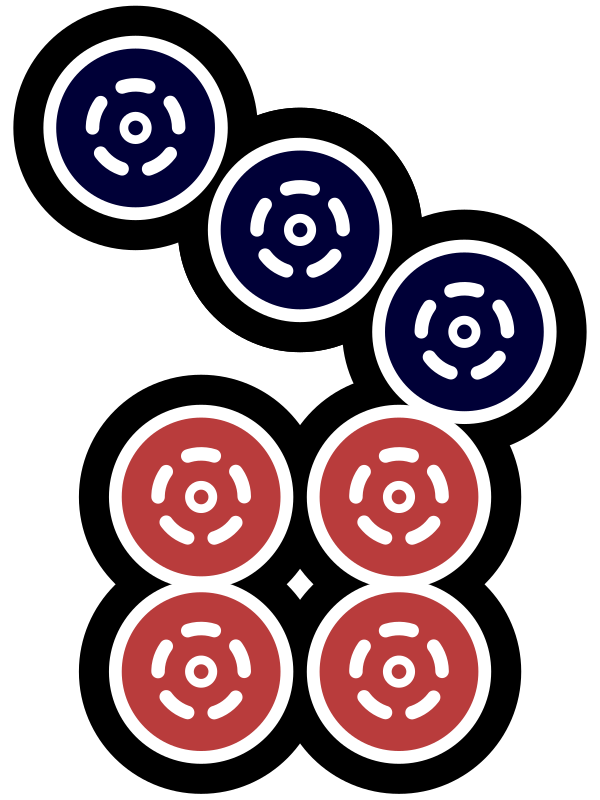
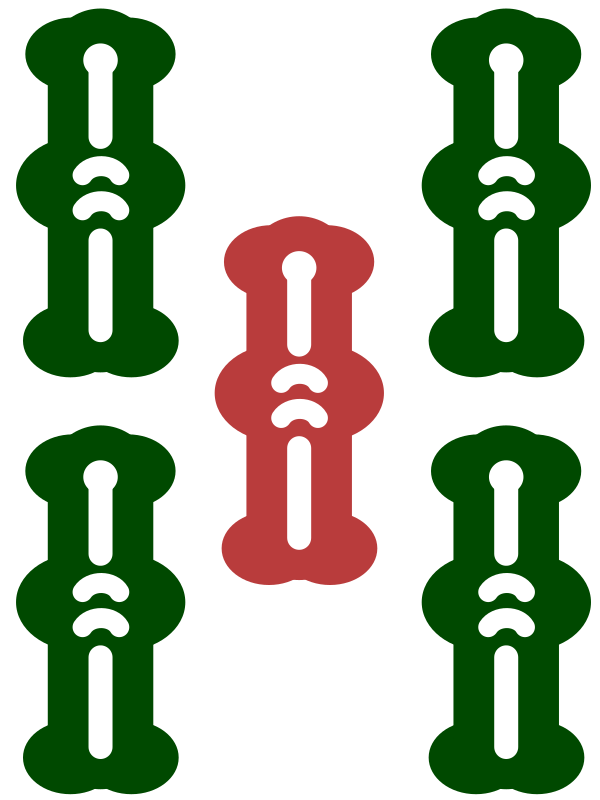
45 circles completes with 3 or 6 circles, and 56 bamboo with 4 or 7 bamboo. Drawing 7 circles makes a triplet and leaves 5 bamboo as the pair; drawing 5 bamboo does the reverse. A shape with a head and two flexible completion candidates that reaches tenpai through either is called perfect one-shanten (kanzen iishanten).
A hand without a pair

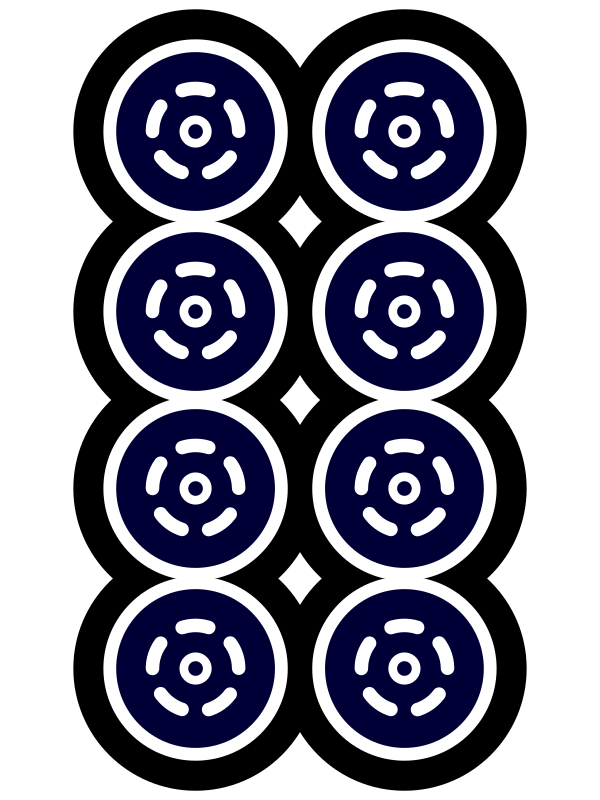
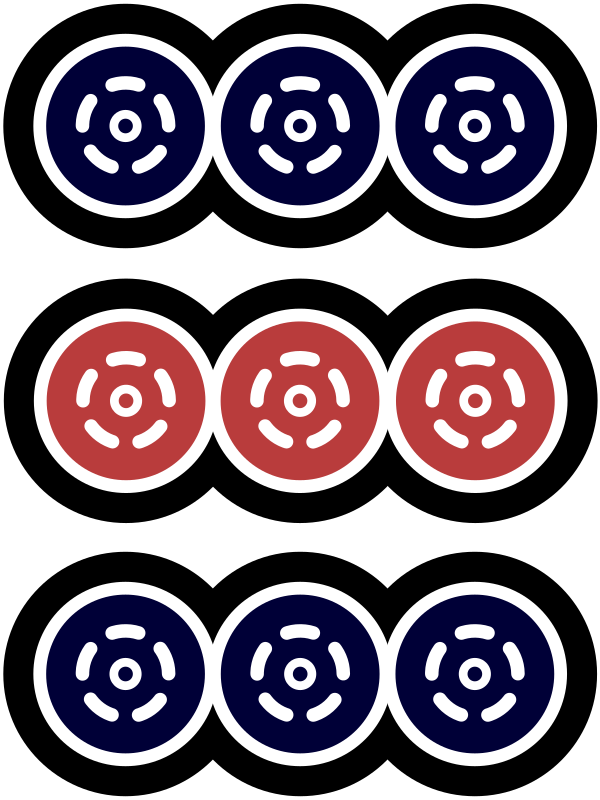
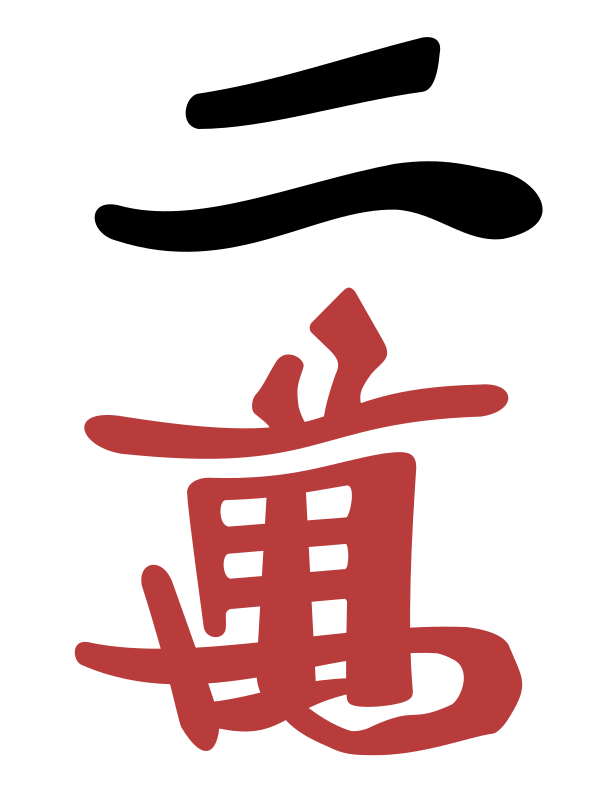
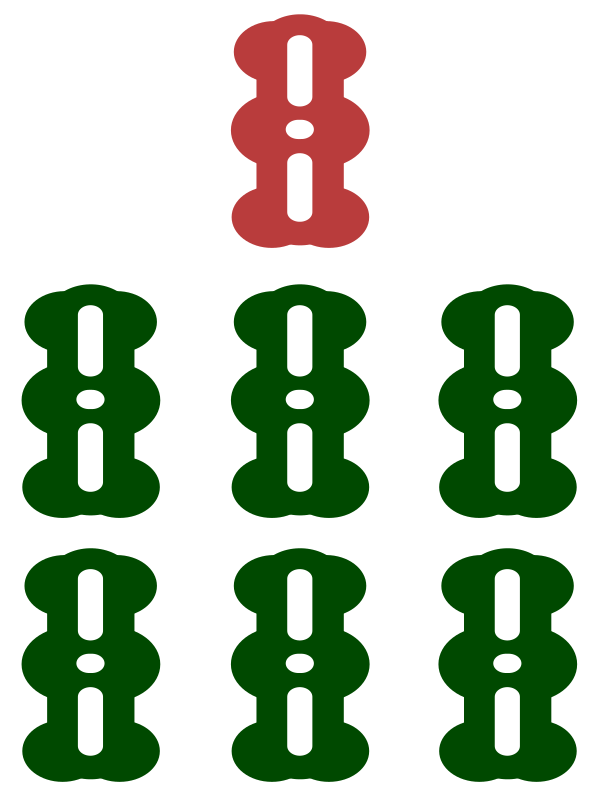
Drawing 1 or 4 characters completes 23 characters; discard one tile from 67 bamboo for a single-tile wait. Drawing 2 or 3 characters creates the pair and keeps 67 bamboo as the wait. The bamboo block works the same way, so both completing a block and pairing one of its tiles are effective. This is a headless shape.
Three completed sets, a pair and two isolated tiles
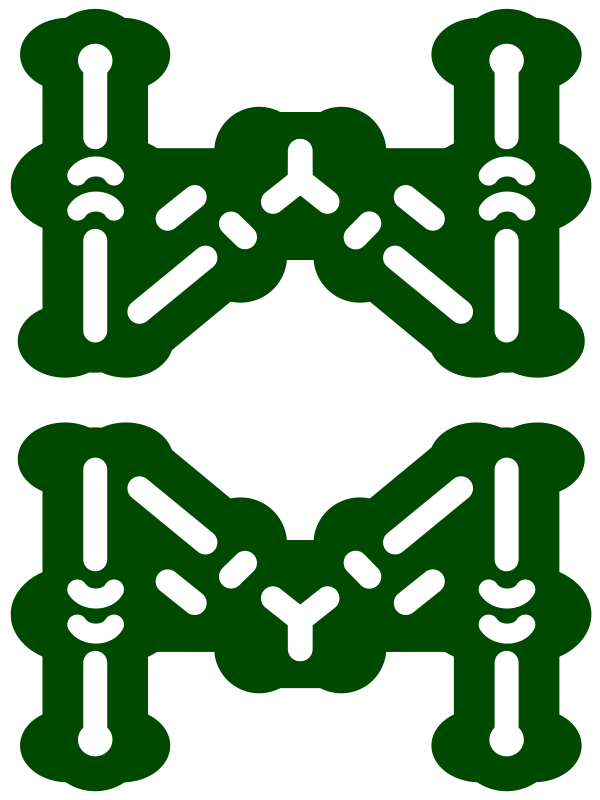
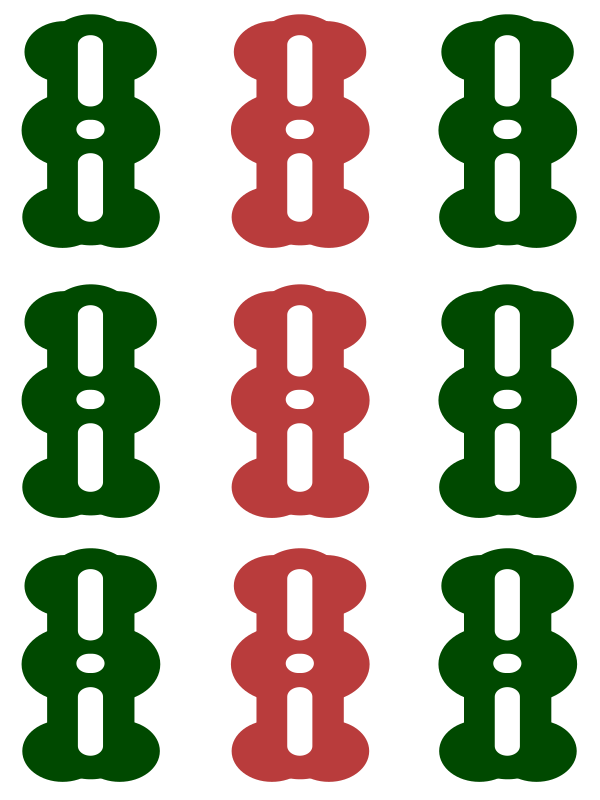
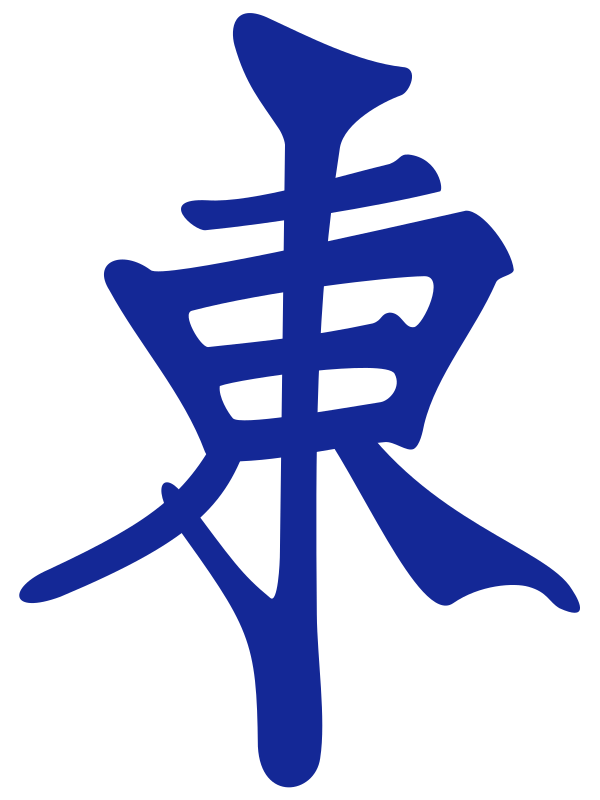
Three sets, a pair and two isolated tiles form a floating-tile one-shanten shape (kuttsuki iishanten). The 4 characters connects to 2–6, and the 7 connects to 5–9. Count 5 and 6 only once because they help both. One 4 and one 7 are already in the hand, leaving three each; the other six types have four each, totaling 30 numbered tiles. The East pair leaves two East tiles unseen. Drawing East makes a triplet; discard 4 or 7 characters and wait on the other to form a pair. Total maximum ukeire is 32.
Central numbered tiles offer more ways to improve, but visible copies, dora and yaku connections can change which tile is worth keeping.
The 556 bamboo above can function as both 55 and 56. A group that can be divided in multiple ways is a compound block. It accepts 4 or 7 bamboo to make a set, and 5 bamboo to make a triplet; list the types without double-counting.
34567 characters can be divided into 345 + 67 or 34 + 567. Fixing 345 as a set overlooks 2 and 5 characters; fixing 567 overlooks 5 and 8. Read the actual tile shape first and return to the full 13-tile hand for each discard option before applying shape labels.
What about a hand with many pairs?
A standard hand needs one pair. With two pairs, one can be the head and the other a triplet candidate. Three or more pairs can narrow ukeire, but may allow a parallel route to seven pairs.
A pair of value honors can secure a yaku through pon, so its value differs from a non-value wind pair or numbered pair. Compare standard hands, seven pairs and calls rather than fixing every pair as a head.
Seven pairs and thirteen orphans do not use five-block theory
Seven pairs and thirteen orphans have distinct shanten calculations. Consider seven pairs with many pairs, and thirteen orphans with an unusually high concentration of terminals and honors.
Focusing only on four sets and a pair can miss a promising special hand. Compare shanten for the standard and special shapes before choosing a direction.
4. Compare incomplete blocks, compound shapes and isolated tiles
Compare incomplete blocks by ukeire and future improvements
Adjacent tiles such as 45 complete on either outside tile: a two-sided shape (ryanmen). A gapped shape such as 46 completes on the middle tile: a closed shape (kanchan). At the edges, 12 or 89 completes only on the inner tile: an edge shape (penchan). A tile unconnected to any group is an isolated tile (koritsuhai).
The next four examples are 13-tile tenpai hands with three completed sets and a pair. Only the final unfinished section changes. Unless stated otherwise, no relevant tiles are visible outside the hand. Compare the effective tiles for the highlighted section and their maximum remaining counts.
45 characters: at most eight 3s and 6s
A two-sided shape accepts two types and therefore has more ukeire than a one-type wait when visible counts are equal. The 556 bamboo in the perfect one-shanten example combines a 55 pair and a two-sided 56 block.
46 characters: at most three 5s
The highlighted 46 characters completes only with 5 characters. One is visible here, leaving at most three. Red 5 characters counts as one of those fives, not as an extra tile type.
12 characters: at most four 3s
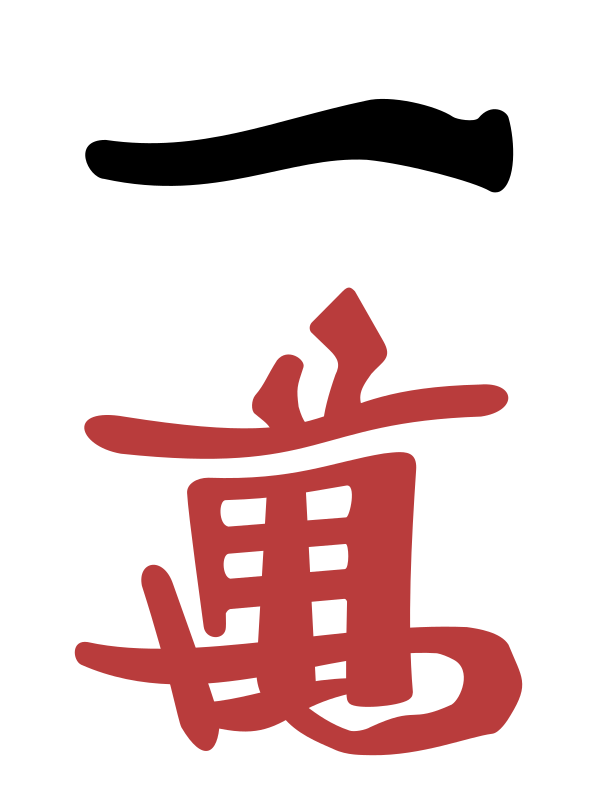
The highlighted 12 characters completes only with 3 characters. Unlike 23, which accepts 1 or 4, there is no 0 character tile. Similarly, 89 waits only on 7. Although both edge and closed shapes wait on one type, their future improvements and yaku connections differ.
Two pairs: at most four East and 5-character tiles
Drawing East or 5 characters makes one triplet and leaves the other pair as the head. There are two effective types, but two copies of each are already held, so at most four remain. If East is the seat or round wind, its potential yaku adds value beyond tile count.
Which should you keep: a closed shape or an edge shape?
Both 46 and 12 characters have at most four tiles that directly complete a set. However, a closed shape more readily becomes two-sided after a nearby draw, especially central shapes such as 35 or 46. An edge shape can form only 123 or 789 and has fewer ways to improve.
With equal yaku and dora considerations, generally keep the more flexible closed shape. Yaku such as sanshoku dōjun, ittsū or chanta can reverse that preference.
Compound shapes have a major effect on efficiency
556 can be viewed as both a 55 pair and a two-sided 56 block. Likewise, 34567 can be split as 345 + 67 or 34 + 567. One tile can serve multiple blocks; fixing one interpretation can hide useful draws.
Effective tiles can overlap in compound shapes. Even if 5 characters helps two candidates, there are still only four copies including the red five. Count each type once.
Learn three-tile shapes to understand efficiency
345 is a completed set, while 455 and 445 combine a pair and a two-sided block. Tiles attached to either end of a completed sequence can also allow the sets to be regrouped after a draw.
Do not immediately fix a group as a completed set plus an isolated tile. Try its possible divisions into sequences, pairs and incomplete blocks. Tiles that can serve several roles make the whole hand more flexible.
How to read four- and five-tile runs
A four-tile run such as 3456 can develop into two set candidates through several draws, including 2 or 5 and 4 or 7. Central five-tile runs such as 23456, 34567 and 45678 have even more flexible divisions.
Fixing 345 as a completed set can leave you evaluating only 67 and undercounting ukeire. Try dividing connected runs from the right and the middle as well as the left.
Central isolated tiles offer more improvements
Early on, before you have five blocks, compare how isolated tiles can form two-tile groups. An isolated 5 characters connects to 3, 4, 5, 6 or 7 characters. With one 5 held and none visible, there are four each of 3, 4, 6 and 7, plus three remaining 5s: 19 improving tiles.
An isolated 1 characters can pair with another 1, form an edge block with 2, or a closed block with 3. With one 1 held and none visible, there are three 1s, four 2s and four 3s: 11 tiles. Central tiles generally have more nearby numbers and more ways to improve.
The 19 and 11 above count shape-improving draws that form two-tile groups. Some do not reduce the whole hand's shanten, so distinguish them from ukeire. If five blocks already exist, a new block may merely create a sixth without advancing the hand.
When to discard honors: comparing them with numbered tiles
Isolated honors cannot form sequences and have fewer ways to improve. However, dragons, seat winds and round winds can become yakuhai when paired and called as pon. A non-value wind normally provides no yaku on its own.
When comparing honors, check whether they are value tiles or dora, how many are discarded, and their value as safe tiles. They may be easy to discard early for efficiency, yet become valuable defensive options later.
5. Include value, calls and defense in the decision
Do not maximize ukeire alone
Tile efficiency compares progress toward a win, but ukeire alone does not decide a discard. More useful draws are attractive at equal shanten; hand value, defense and the score situation can still change the choice.
Hand value and yaku
If discarding dora adds two useful tiles but keeping it offers mangan potential, count alone cannot settle the choice. Your discards also change access to tanyao, pinfu, sanshoku dōjun, ittsū and honitsu. Check their conditions in the riichi mahjong yaku list.
Safety and the game situation
Late in a hand or after an opponent's riichi, avoiding a deal-in becomes more valuable. Discarding honors and terminals early can improve efficiency but leave no safe tiles later. Decide how far to push using shanten, wait, value, turn number, dealer status and score gaps. See mahjong defense and push-or-fold decisions.
Calling opportunities and securing a yaku
Even with only two unseen copies, a value-honor pair can become a set and secure a yaku through pon. A closed two-sided block may have wide ukeire but leave no yaku if called as chii. Distinguish tiles you can draw, tiles you can call, and yaku remaining after a call.
The shape after an effective draw
Compare the waits that result after advancing. Two choices may each have eight effective tiles, yet one always yields a two-sided wait while the other often yields single-tile or closed waits. Look one step ahead, beyond the current count.
Narrow the options by shanten and ukeire, then compare resulting shapes. Finally, include value, defense, visible tiles, remaining turns and the round's score situation to choose the discard.
What is ukeire quality?
Ukeire quality includes how often useful draws produce a good wait, a yaku or higher value. Separate draws that create two-sided waits, poor waits, a guaranteed yaku or a way to use your dora.
Instead of treating every effective tile as equal, ask what wait each one produces. Looking one step ahead helps distinguish choices with identical counts.
What if discarding dora improves efficiency?
Tile efficiency and scoring potential are different measures. Even if discarding dora adds a few useful draws, keeping it may be worthwhile when it adds thousands of points, depending on the situation.
Early in a hand, more chances to improve allow room to pursue value. Late in a hand, fewer draws often favor speed. Also consider dealer status, score gaps and the danger of discarding the dora.
Should you prioritize efficiency or yaku?
Tanyao and pinfu often align with efficient choices that retain central tiles and two-sided shapes. Pursuing sanshoku dōjun, ittsū, honitsu, chinitsu, chanta or junchan may require keeping specific tiles at the cost of some ukeire.
Compare the yaku's added value with the useful draws lost. If chasing a distant yaku would substantially increase shanten, beginners can make steadier decisions by prioritizing normal hand speed.
How do calls change tile efficiency?
Separate useful self-draws from calls on opponents' discards. A value-honor pair can pon from anyone; a sequence candidate can chii from the player to your left. More calling opportunities can make a hand faster in practice.
However, a hand cannot win without a yaku after calling. Riichi and menzen tsumo are also lost, so being able to call a tile does not mean you should.
Efficiency priorities change as the hand progresses
| Stage | Main considerations |
|---|---|
| Early | Improvements, value and flexible five-block plans |
| Middle | Shanten, ukeire and selecting blocks |
| Late | Value of tenpai, safety and push-or-fold judgment |
Early, retain improvements from isolated tiles and connected runs; in the middle, narrow the hand to five blocks. From one-shanten onward, emphasize ukeire and the resulting wait. Late in a hand, safety more often outweighs pure speed.
6. Practice with discard problems and real games
What would you discard? Apply the method
For a discard problem, first identify current shanten. Then compare shanten, ukeire and resulting shapes after each candidate discard. Apply the same process to the diagrams above: two-sided, closed and edge waits, five-block hands, one-shanten shapes, and isolated 5s versus 1s.
| Problem | What to consider |
|---|---|
| Different shanten values | Discards that preserve or improve distance |
| Two-sided versus closed shapes | Useful tile count and future improvements |
| Five blocks versus six | Which block to remove and the resulting shape |
| Isolated tiles | Terminals versus central tiles; dora and yaku |
| One-shanten | Perfect, headless and floating-tile shapes |
| Speed versus value | Difference in ukeire versus difference in points |
How to practice tile efficiency
Start by counting winning tiles in ready hands. Two-sided waits have two types, closed and edge waits one, and double-pair waits two types with at most two copies each. Always subtract tiles visible in your hand and discards. Then expand to comparing one-shanten discards.
Save one difficult discard from a game and reconstruct the 14 tiles afterward. For each candidate, record resulting shanten, effective types, remaining copies, eventual waits, and yaku or dora lost. Go beyond selecting one answer: note which conditions change the ranking of the options.
After recording ukeire, do not judge the discard solely by whether you actually won. Record what was visible at the time, the resulting shape, value and safety, then review which conditions would change the preferred choice.
References
- What is iishanten? (Kinma web) (terminology for one-shanten and perfect one-shanten with two two-sided blocks and double-pair acceptance)
- Performance evaluation of a closed-hand, full-attack mahjong AI using effective-tile counts (CiNii Research) (research on hand evaluation through effective tiles)
- A Fast Algorithm for Computing the Deficiency Number of a Mahjong Hand (research on calculating distance from a winning shape)
- Estimating waits by considering a riichi player's hand (J-STAGE) (research using public information, referenced as a separate situational evaluation)
- Mahjong analysis through game-log analysis (Journal of the Japanese Society for Artificial Intelligence) (research using game-log data)
This guide does not establish push-or-fold thresholds or probabilities that unseen tiles remain in the live wall.
Related guides
 Riichi Mahjong Yaku ListCheck yaku, han values and calling restrictions
 Mahjong defense guideLearn how to use genbutsu, suji and kabe
 A straightforward guide to mahjong scoringWork through yaku, han, fu and payments in order
 Understanding average placement in mahjongRead results alongside top and last-place rates
 How to Calculate Mahjong Net ResultsSettlement with uma, oka and a conversion rate
 Tracking Three-Player Mahjong ResultsRule differences and records for three-player mahjong